


Industry News


Commercial Freezer Condenser Failure? 5-Step Diagnosis & Repair Guide
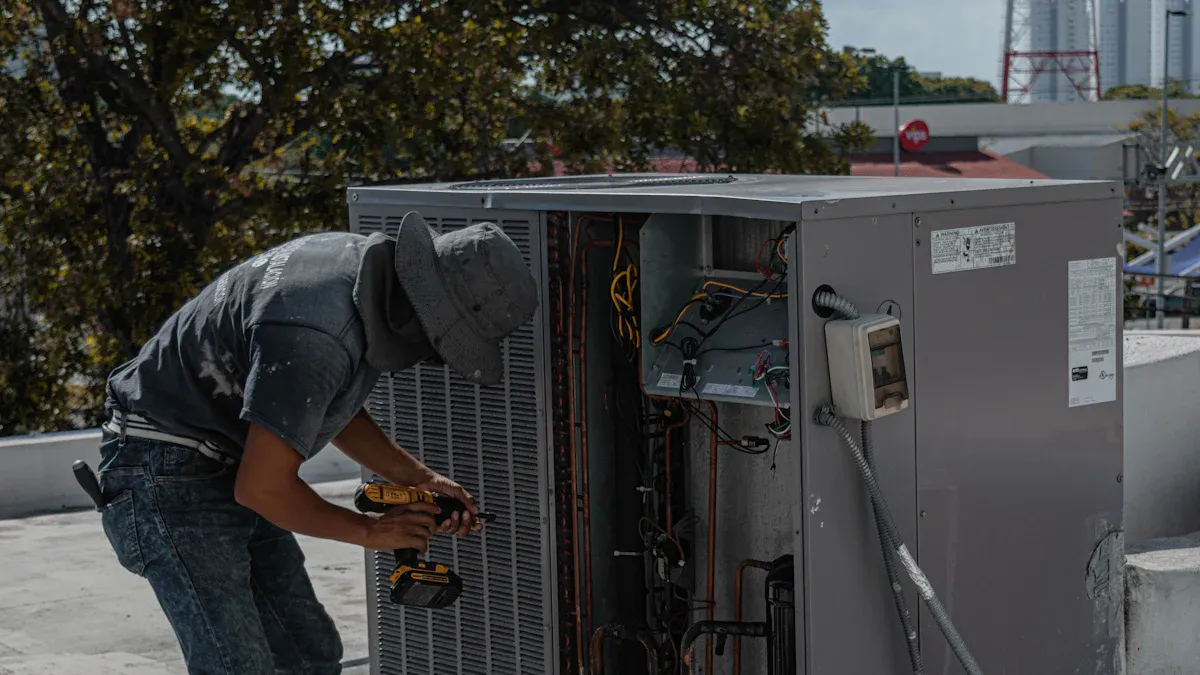
A failing condenser can cripple your commercial freezer, jeopardizing food safety and disrupting operations. I’ve seen how quickly these issues escalate, leading to spoiled inventory and financial losses. Acting swiftly is essential. Regular maintenance and using reliable components, like a Wire Tube Condenser, can help avoid costly downtime. Let’s tackle the problem head-on.
Key Takeaways
- Look for early signs of problems, like changing temperatures or too much frost. Fixing these issues fast can save money on repairs.
- Clean the condenser coils often and check for good airflow. This keeps your freezer working well and lasting longer.
- Use good-quality parts, like Wire Tube Condensers. Strong parts work better and lower the chance of more problems later.
Step 1: Identify Symptoms of Condenser Failure
Common signs of a failing condenser
Recognizing the early signs of condenser failure is critical to preventing costly repairs and downtime. I’ve learned that inadequate airflow often results from poor placement in enclosed spaces. This increases compressor head pressure and power consumption, which can lead to system failure. Dust and debris on condenser coils also act as insulators, reducing heat transfer efficiency. Regular coil inspections are essential to avoid these issues.
In commercial settings, I’ve seen several telltale signs that point to condenser problems:
- Temperature fluctuations: Faulty thermostats or poor ventilation often cause inconsistent cooling.
- Excessive frost: Defective door gaskets can lead to frost buildup.
- Strange sounds: Unusual noises may indicate issues with fans or compressors.
- Refrigerator not running: This could stem from power issues or faulty components.
- Water leakage: A clogged defrost drain is usually the culprit.
Each of these symptoms signals a potential problem that requires immediate attention.
How to differentiate condenser issues from other freezer problems
Differentiating condenser issues from other freezer malfunctions requires a systematic approach. I rely on technical criteria to pinpoint the root cause. For example, temperature fluctuations might stem from thermostat or wiring issues, while frost buildup often indicates poor airflow or a malfunctioning defrost system.
Here’s a quick reference table I use:
| Symptom | Potential Cause(s) |
|---|---|
| Temperature Fluctuations | Thermostat or temperature control board issues, faulty wiring, defrost sensor problems |
| Frost Buildup | Poor airflow due to malfunctioning defrost system or door seal |
| Loud Noises | Broken fan motor, compressor issues, or condenser coil problems |
| Water Leakage | Blocked drain or damaged gasket |
By analyzing these symptoms, I can quickly determine whether the condenser is at fault or if another component requires attention.
Step 2: Diagnose the Root Cause
Inspecting the condenser coils for dirt or damage
I always start with a visual inspection of the condenser coils. Dirt and debris can accumulate over time, acting as insulators and reducing the system's ability to reject heat. This leads to higher condensing temperatures and inefficient operation. I’ve seen cases where fouled coils caused elevated compression ratios, resulting in poor cooling performance. Checking for physical damage, such as bent fins or oil stains, is equally important. These signs often indicate underlying issues that need immediate attention.
Checking for refrigerant leaks
Refrigerant leaks are a common culprit behind condenser failure. I use a combination of methods to detect leaks effectively. For pinpoint accuracy, the soap bubble method works well. For larger systems, I rely on advanced tools like infrared detectors or ultrasonic devices. These tools help visualize leaks as escaping gas clouds or detect high-frequency sounds from leaking refrigerants. Keeping refrigerant levels optimal is crucial for maintaining the freezer's cooling efficiency.
Evaluating the performance of the condenser fan
The condenser fan plays a vital role in maintaining airflow and ensuring proper heat exchange. I evaluate its performance by checking if the fan operates at variable speeds and responds to ambient temperature changes. For low-temperature systems, the fan should not exceed dry-bulb temperature by more than 10°F. I also verify that the motor meets energy efficiency standards, as this directly impacts the system's overall performance.
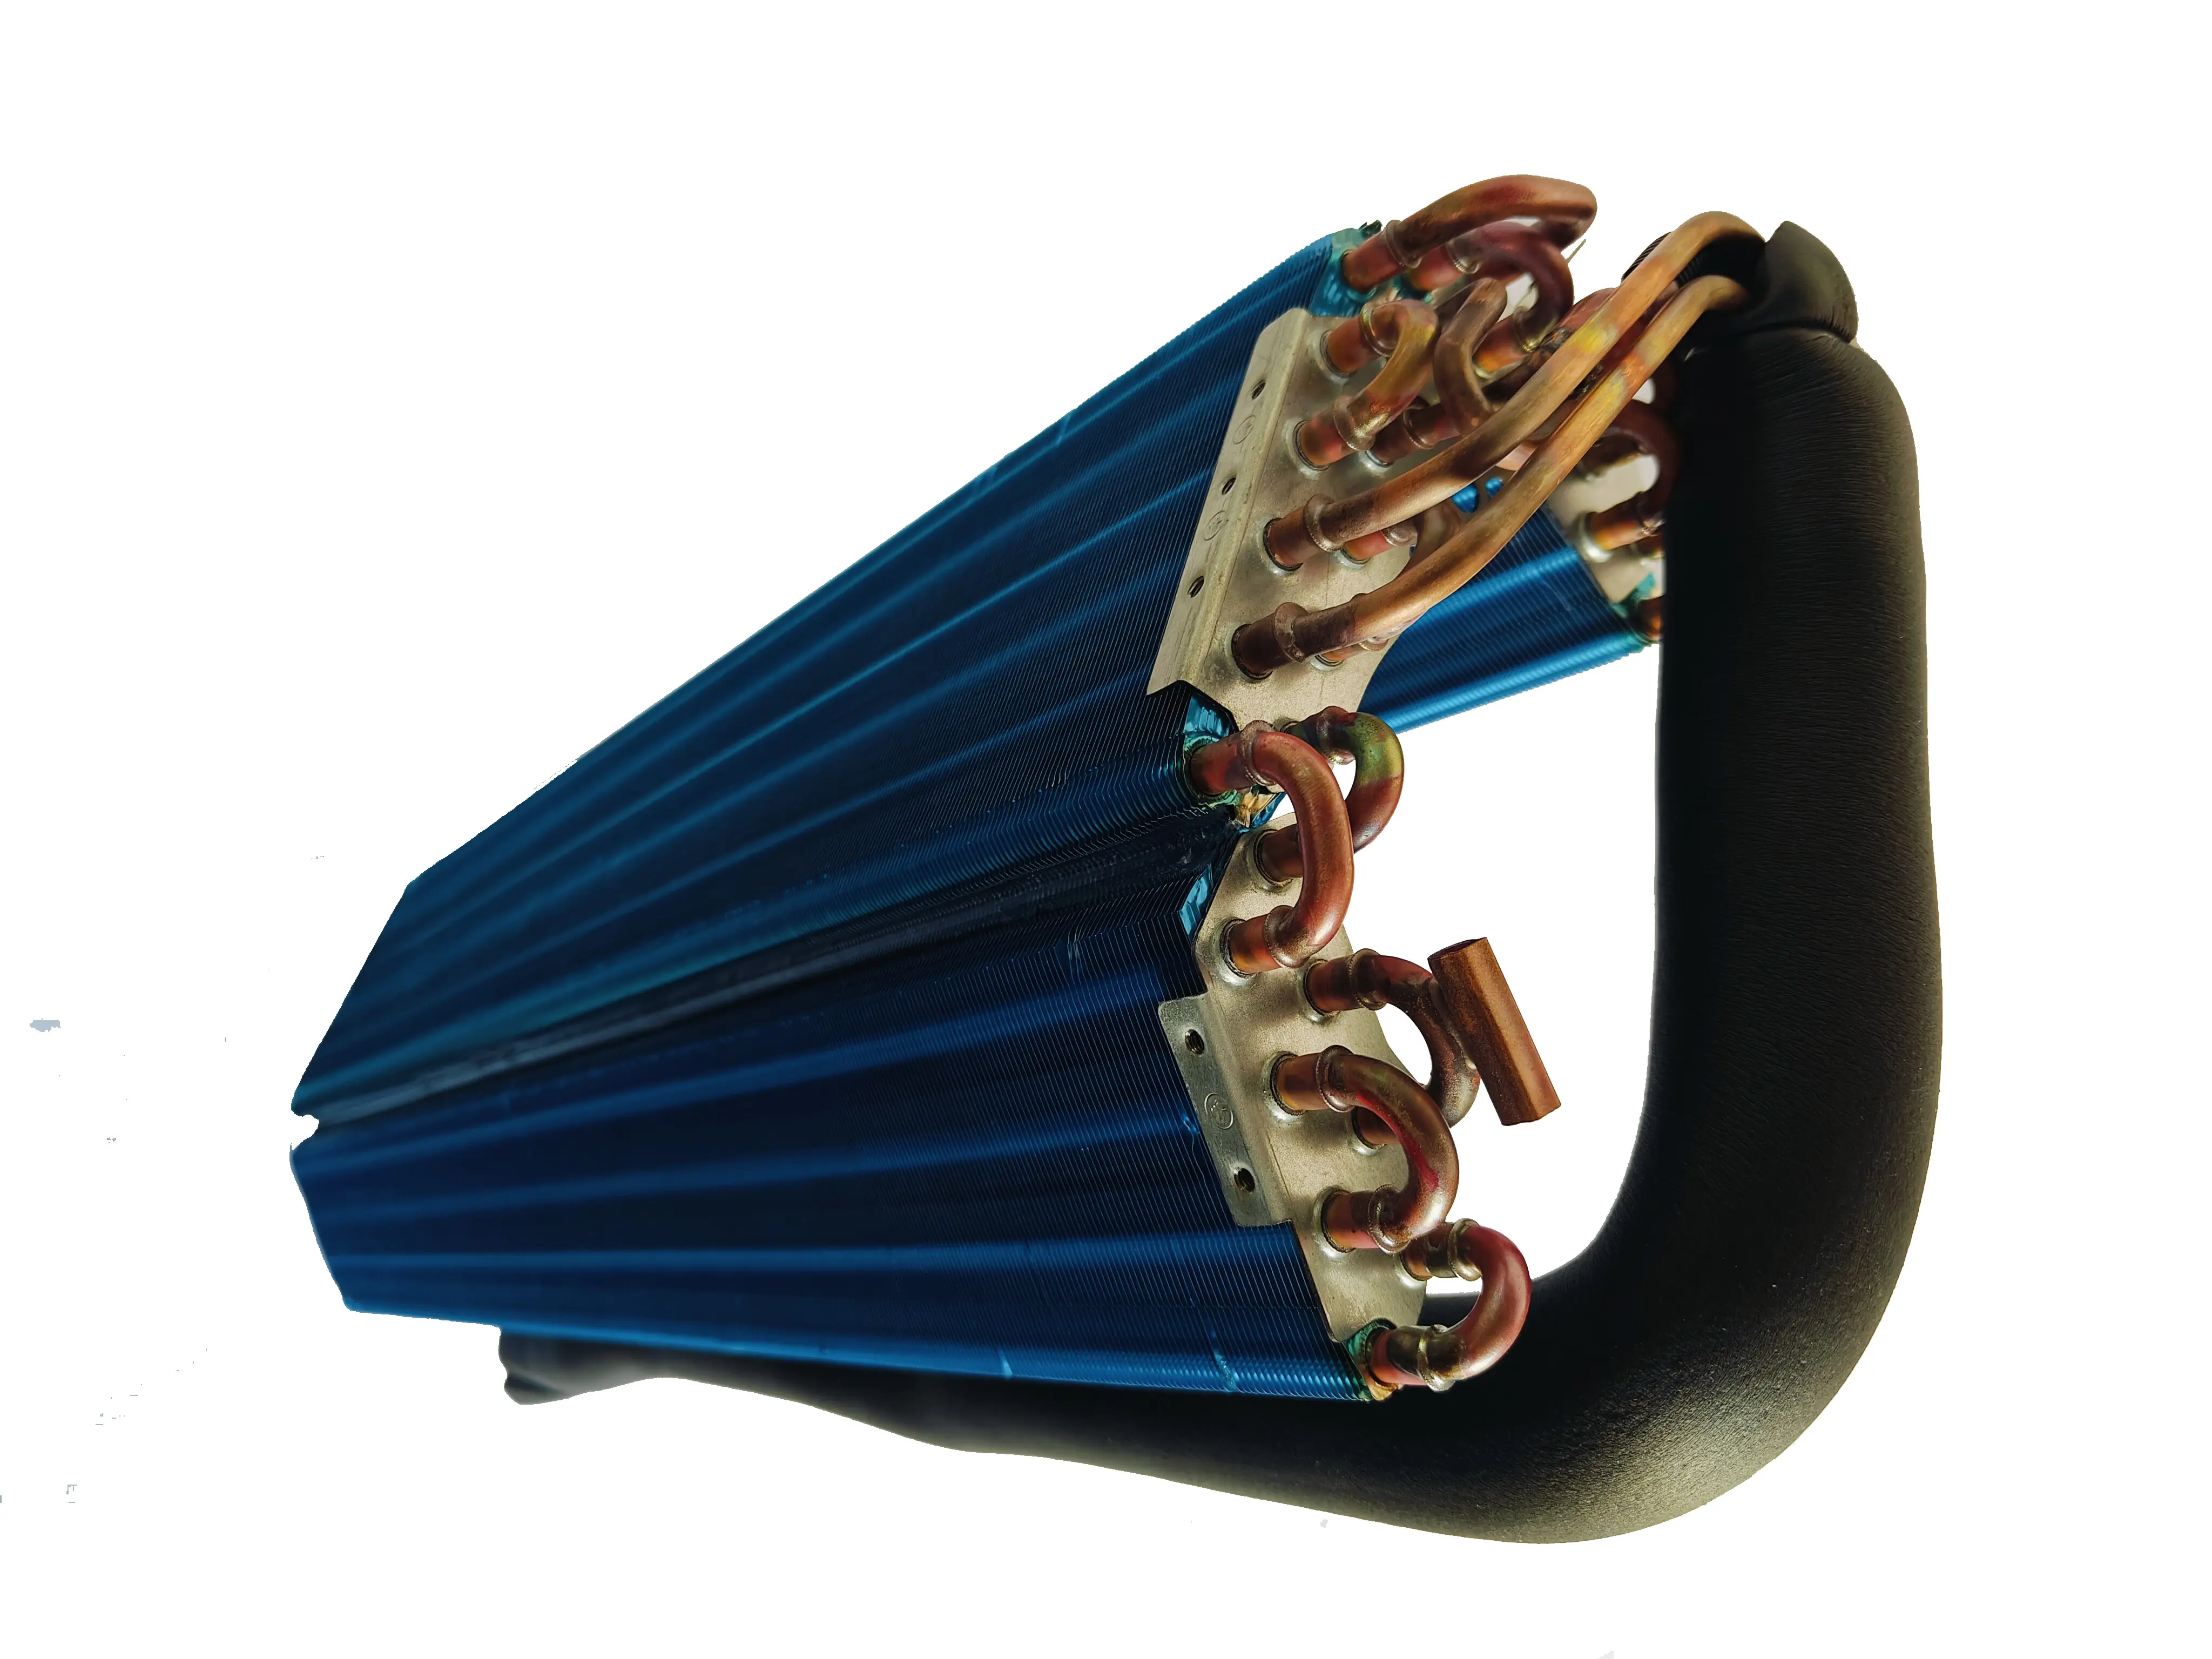
Understanding the role of the Wire Tube Condenser in heat exchange
The Wire Tube Condenser is a critical component in the heat exchange process. Its design ensures efficient thermal transfer, which is essential for maintaining consistent cooling. I’ve found that its parallel-flow structure enhances heat dissipation while minimizing energy consumption. Performance metrics like the Nusselt number and friction factor validate its effectiveness in real-world applications. Using high-quality Wire Tube Condensers, such as those from Ningbo Senjun New Materials Co., Ltd., ensures long-term reliability and optimal performance.
Step 3: Perform Basic Troubleshooting
Cleaning the condenser coils
Dirty condenser coils can severely impact a freezer's efficiency. Dust and debris act as insulators, preventing proper heat dissipation and causing the system to overheat. I always start by disconnecting the power to ensure safety. Locating the coils, which are typically at the back or beneath the unit, is the next step. Using a coil cleaning brush or a vacuum with a crevice tool, I gently remove accumulated dirt. For stubborn grime, I recommend commercial coil cleaners or a mild detergent solution. Once cleaned, I reconnect the freezer and monitor its performance. This simple step often restores optimal cooling.
Ensuring proper airflow around the unit
Proper airflow is essential for maintaining condenser performance. I ensure the freezer is positioned with adequate space around it, allowing air to circulate freely. Studies show that airflow modifications, like adding spray water above the condenser, can significantly enhance efficiency. I also check for obstructions, such as walls or objects placed too close to the unit. If airflow is restricted, the condenser struggles to transfer heat effectively, leading to performance issues.
Resetting the freezer system
Sometimes, a simple reset can resolve minor issues. I unplug the freezer for a few minutes to allow the system to recalibrate. After plugging it back in, I observe the temperature and cooling performance. This step often resolves glitches caused by power surges or temporary malfunctions.
Inspecting door gaskets and thermostat settings
Door gaskets and thermostat settings play a crucial role in maintaining consistent cooling. I inspect the gaskets for cracks or wear, as damaged seals allow warm air to enter, causing frost buildup. Ensuring the thermostat is functioning correctly is equally important. I verify that it’s set to the recommended temperature and adjust it if necessary. These small checks can prevent larger issues and extend the lifespan of components like the Wire Tube Condenser.
Step 4: Execute Necessary Repairs
Replacing damaged condenser components
When I encounter damaged condenser components, I prioritize replacing them promptly to restore the freezer's efficiency. Components like condenser coils, fans, or motors often wear out over time. I carefully remove the faulty part and install a replacement that matches the manufacturer's specifications. Technical documentation is invaluable during this process. It provides detailed instructions and safety precautions, such as disconnecting utilities and wearing protective gloves, ensuring the repair is both safe and effective. Using high-quality parts, like a Wire Tube Condenser, guarantees long-term reliability and optimal performance.
Sealing refrigerant leaks
Refrigerant leaks can severely impact cooling efficiency. I use advanced tools, such as infrared detectors, to locate leaks accurately. Once identified, I seal the leak using industry-approved methods, like brazing or epoxy sealants. Maintaining proper refrigerant levels is critical for the condenser's performance. Proactive detection and repair of leaks not only improve energy efficiency but also extend the lifespan of the freezer. This approach aligns with modern repair techniques, which emphasize proactive asset management over outdated "fail and fix" methods.
When to call a professional technician
Some repairs require expertise beyond basic troubleshooting. I recommend calling a professional technician in these situations:
- Diagnosing complex mechanical or electrical issues.
- Conducting routine inspections to prevent breakdowns.
- Performing advanced repairs, such as replacing compressors or addressing extensive refrigerant leaks.
Technicians possess specialized skills and tools that ensure repairs are done efficiently. Their expertise also helps identify potential risks during inspections, reducing the likelihood of emergency repairs.
Tip: Regular assessments by professionals can significantly lower long-term maintenance costs.
Using high-quality replacement parts like Wire Tube Condensers
I always emphasize the importance of using high-quality replacement parts. A Wire Tube Condenser, for instance, offers superior heat exchange capabilities and energy efficiency. Technical guides often highlight these components for their durability and performance. They also include installation instructions, ensuring a seamless repair process. By choosing reliable parts from trusted manufacturers like Ningbo Senjun New Materials Co., Ltd., I can guarantee the freezer operates at peak efficiency for years to come.
Step 5: Implement Preventive Maintenance
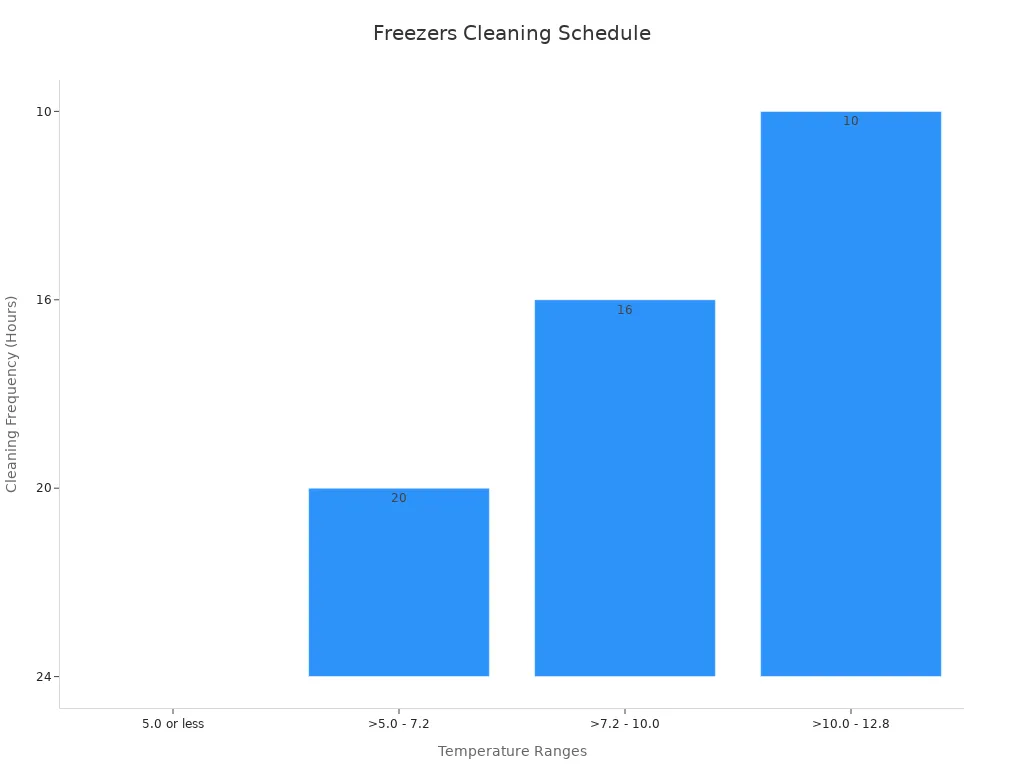
Regular cleaning and inspection schedule
Preventive maintenance begins with a consistent cleaning and inspection routine. I recommend adhering to a schedule tailored to the freezer's operating temperature. For instance, freezers running at higher temperatures require more frequent cleaning to maintain efficiency. Here's a quick reference table:
| Temperature (°C) | Cleaning Frequency |
|---|---|
| 5.0 or less | Every 24 hours |
| >5.0 - 7.2 | Every 20 hours |
| >7.2 - 10.0 | Every 16 hours |
| >10.0 - 12.8 | Every 10 hours |
In addition to daily cleaning, I follow a master sanitation schedule (MSS) for periodic tasks. This includes inspecting structural supports, checking for corrosion, and addressing scale build-up on condenser tubes. These steps ensure the unit operates at peak performance year-round.
Monitoring freezer performance for early warning signs
I always monitor freezer performance to catch potential issues early. Temperature fluctuations, unusual noises, or frost buildup often signal underlying problems. Installing a temperature monitoring system can help track performance trends. I also recommend keeping a log of maintenance activities and performance metrics. This proactive approach minimizes the risk of unexpected failures.
Tips for extending the lifespan of the condenser
Extending the lifespan of a condenser requires attention to detail. I focus on:
- Maintaining proper airflow: Ensure the unit has adequate space for ventilation.
- Inspecting fan assemblies: Check for cracks or wear annually to prevent mechanical failures.
- Using high-quality components: Reliable parts, like a Wire Tube Condenser, enhance durability and efficiency.
These practices not only improve performance but also reduce long-term maintenance costs.
Leveraging products from companies like Ningbo Senjun New Materials Co., Ltd.
I trust Ningbo Senjun New Materials Co., Ltd. for high-quality components. Their Wire Tube Condensers excel in heat dissipation and durability, making them ideal for commercial freezers. Customers consistently praise their commitment to quality and adherence to international certifications like ROHS and ISO/TS16949. These standards ensure reliability and environmental friendliness. By choosing products from trusted manufacturers, I can confidently maintain and extend the life of my equipment.
Identifying condenser issues early prevents costly repairs and downtime. I always emphasize the importance of regular inspections and professional servicing. For example, visual examinations, refrigerant level checks, and annual inspections help detect problems before they escalate. Here’s a checklist I follow:
| Checklist | Description |
|---|---|
| Visual examination | Check for visible damages, leaks, or unusual noises |
| Vibration level | Measure to check for excessive vibration |
| Refrigerant levels | Measure the subcooling and superheat |
| Oil level | Check to ensure it is within operational range |
| Professional Servicing | Annual inspection to identify and fix potential problems |
| Belts | Checking for wear and tear prevents sudden breakdowns |
| Electrical issues | Early identification can prevent further damages |
| Air filters | Regular replacement improves efficiency and airflow |
| Condenser coils | Regular cleaning ensures optimum efficiency |
Preventive maintenance is key to extending the lifespan of components like the Wire Tube Condenser. High-quality parts ensure long-term reliability and consistent performance. When repairs exceed basic troubleshooting, I recommend seeking professional help to guarantee safe and effective solutions.
FAQ
What tools do I need to diagnose condenser issues?
I recommend using a coil cleaning brush, infrared leak detector, and a multimeter. These tools help identify dirt, refrigerant leaks, and electrical faults efficiently.
How often should I clean condenser coils?
I clean condenser coils every three months. For high-use freezers, monthly cleaning ensures optimal performance and prevents heat transfer inefficiencies caused by dirt buildup.
Can I repair refrigerant leaks myself?
I advise against DIY refrigerant repairs. Leaks require specialized tools and expertise. Always consult a certified technician to ensure safe and effective sealing.